This VR Development Diary shares our journey to creating ‘Intergalactic Drift’ space racing game for Oculus Quest devices. In this chapter, our Art Director Matt discusses the design process, approach and creation of the hangar.
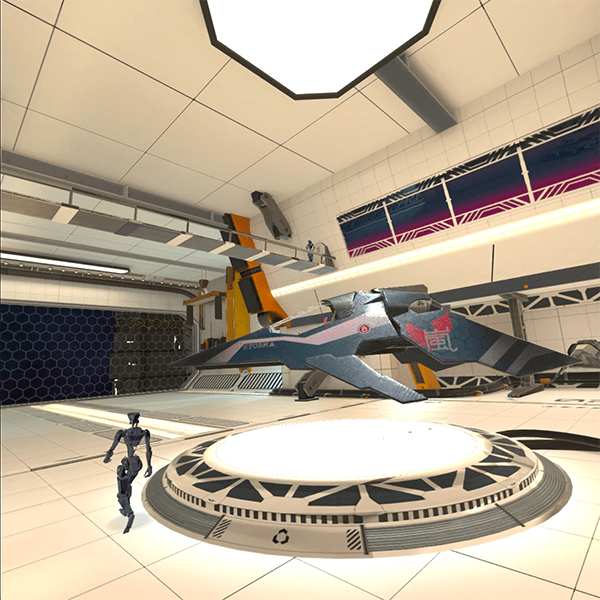
Before you’re even allowed to hurtle around space at breakneck speeds, you need to be able to to select the best racing ship with the right upgrades. This feature helps create a sense of progression for the player and enhances the replayability. Previously in games we have worked on for mobile, we would have done this via a nice menu system. For us, the main selling point of VR is immersion and menus are hardly immersive. It’s this point that got the design team thinking about the opportunities that VR opens up. Specifically a full 3D hangar environment for the player to view available ships in. This scene would have to be fairly static with you, the player, rooted in spot in front of your ship, but offer 360 views of the hangar.
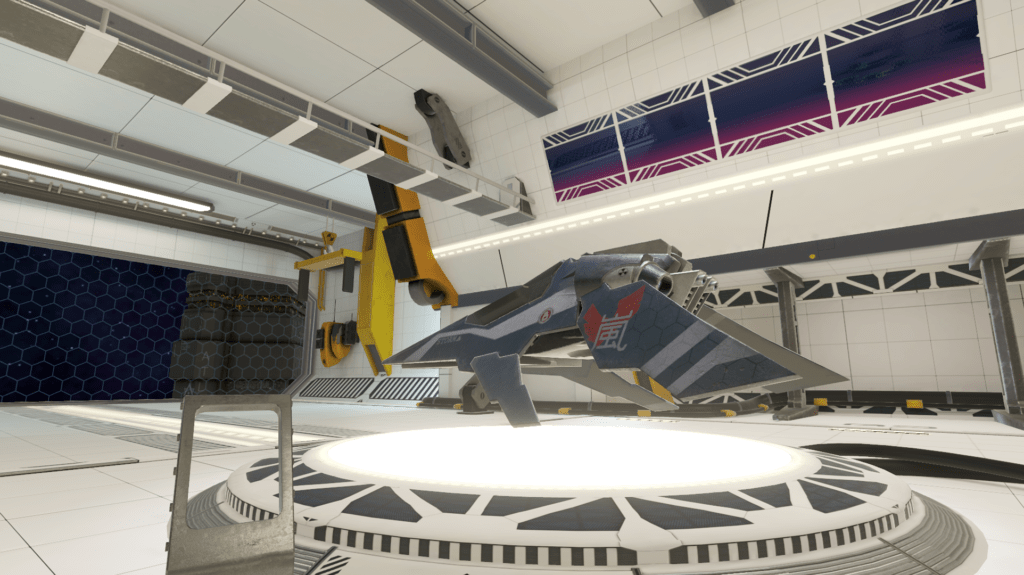
We decided that the ship hangar needed to fit in with the game’s main grunge aesthetic, but we also wanted to bring in elements of high speed traditional racing, such as Formula 1. This translated into lighter and brighter colour palettes.
Getting started with Blender
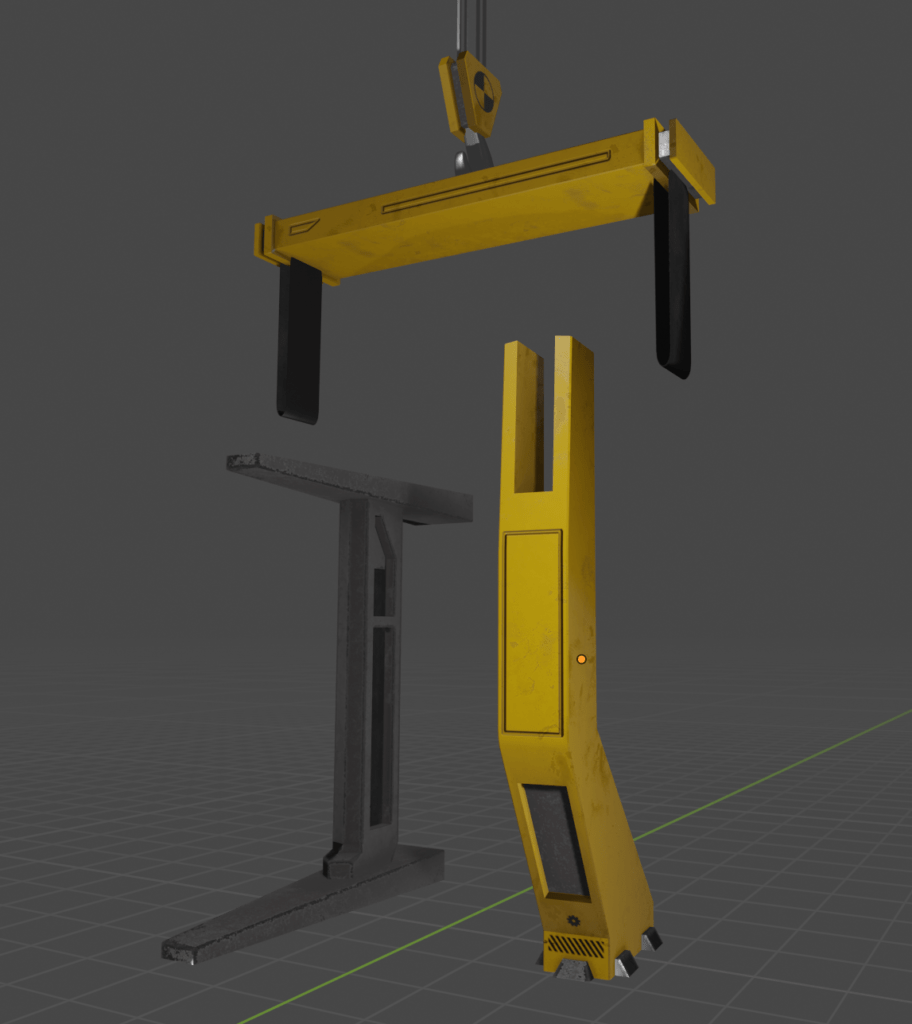
Initially I started with a quick block out in Blender to get an idea of the space and scale. From here I decided to create a generic trim sheet, along with a couple of tiled textures. This was to allow me to work up the environment with textures already applied, giving a better idea of the look earlier on.

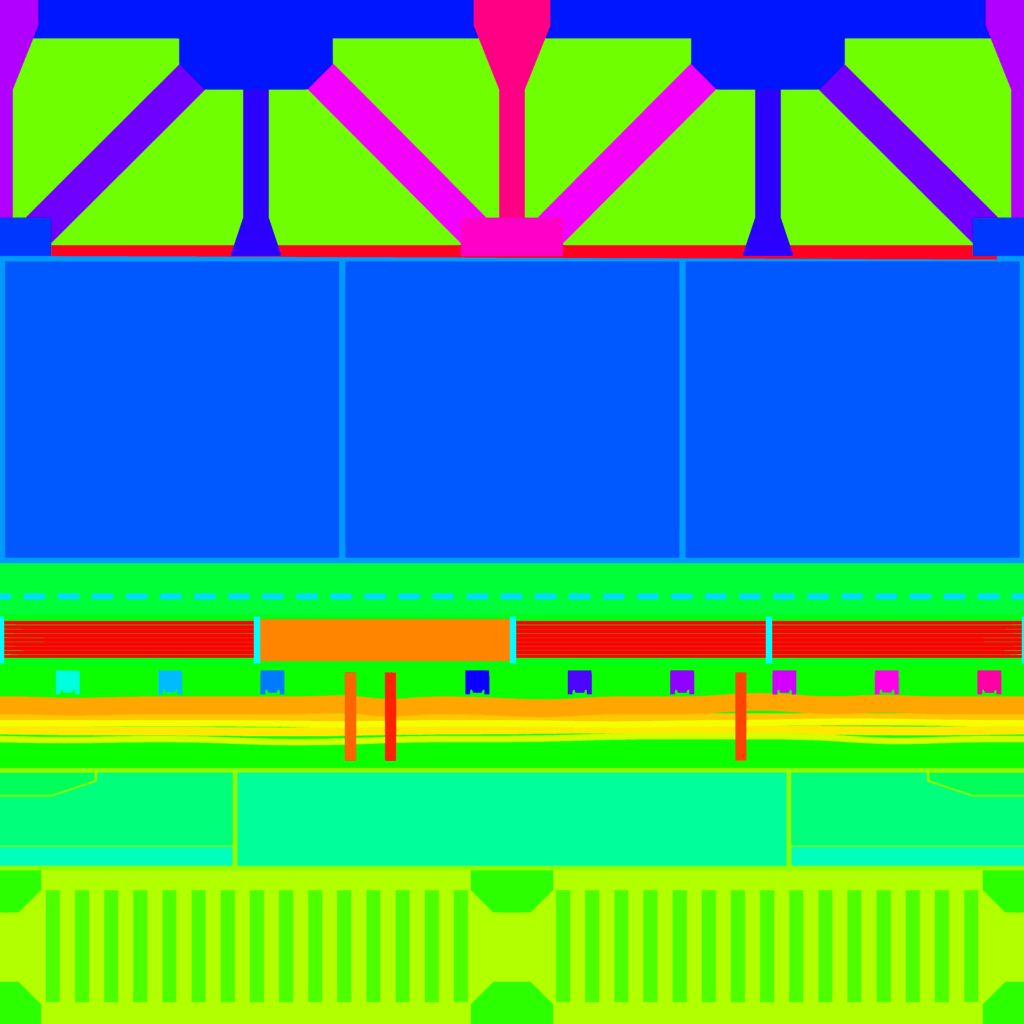
These Texture sheets were created using Blender and Substance Painter. First I modelled a detailed version of each, making good use of the subdivision modifier. This high resolution mesh was then baked onto a flat plane with UV’s filling the whole 0-1 space. I kept the detail meshes as separate objects and this worked well with Substances ID bake. ID maps are useful for isolating parts of the Trim sheet when texturing. However it did create a number of aliasing artefacts along borders which required some manual editing.
Once back in Blender, I began to map the texture to the block out creating the UV’s and adding further detail simultaneously. Having come from Maya, I did find the UV tools in Blender to be somewhat underwhelming. After some trial and error (and adding in a couple of UV add-ons from the marketplace) I was able to get up and running with it.
A big breakthrough I had was in using the array modifier, which can auto stitch/merge verts. This made creating long strips of trim easy and reduced the amount of UV mapping required to begin with. I also found, that I could be combine it with the curve modifier to make it easy to bend the strip around corners. It is also possible in Blender to extract the curves directly from a mesh by separating the edge and converting it to a curve object. Combining these 3 steps makes it easy to wrap some trim around any part of the hangar. I also used a variation of this process to place pipes and hoses around the scene.
Setting the scene up in Unity
After adding some supporting meshes with unique textures I began looking at setting the scene up in Unity. With Blender there are a couple of settings in the exporter that need to be changed (which way is up and please don’t export absolutely everything in the scene) when taking the assets into Unity, but once done everything ports across seamlessly. Unfortunately (at the time of writing) Blender doesn’t save those changes between sessions so creating a Unity export preset is something I would recommend.
Getting the lighting right
Once in Unity my main concern was getting the lighting right. I had played around in Blender with some lights so I had a vague idea what I wanted. I’ve lit the scene mostly by baked/lightmapped lights coming from the ceiling. I also added a couple obscured point lights towards the entrance. I decided to add a couple of realtime spotlights, as the main ship is not static. New ones will need to be loaded in on the fly, as you swipe through them. I added one from the bottom to simulate the light panel it floats on and one as the ceiling lights. The ship area also gets its own reflection probe to capture the light panel on the floor.
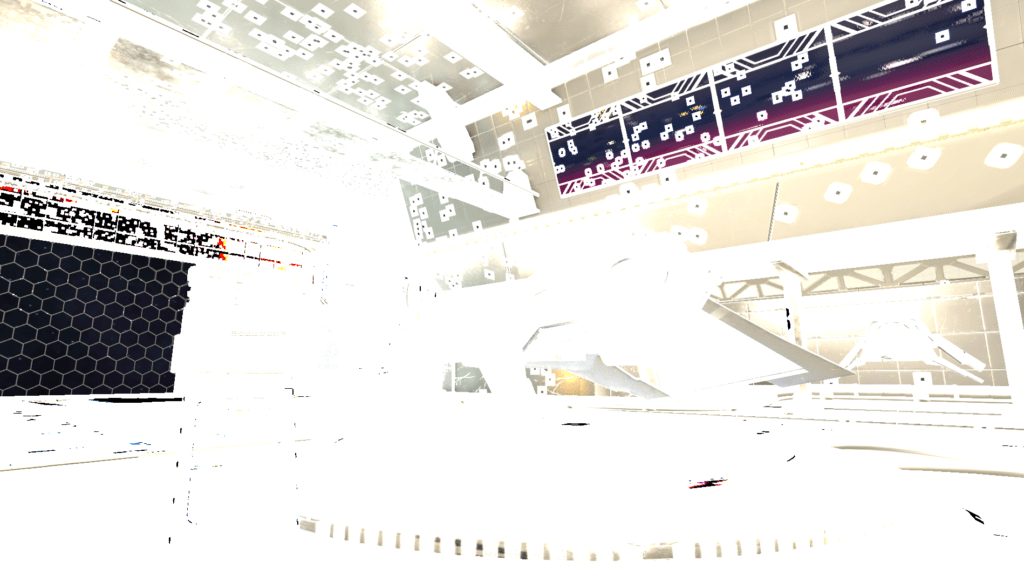
The final step was to add a post processing volume to tonemap the results. This is important when using HDR, as the lighting calculations will use a wider gamut of information than most screens can display. I find that, this can easily lead to bleaching in lighter areas and detail being lost in darker areas. Tone mapping fixes this by remapping the values to a screen appropriate spectrum.
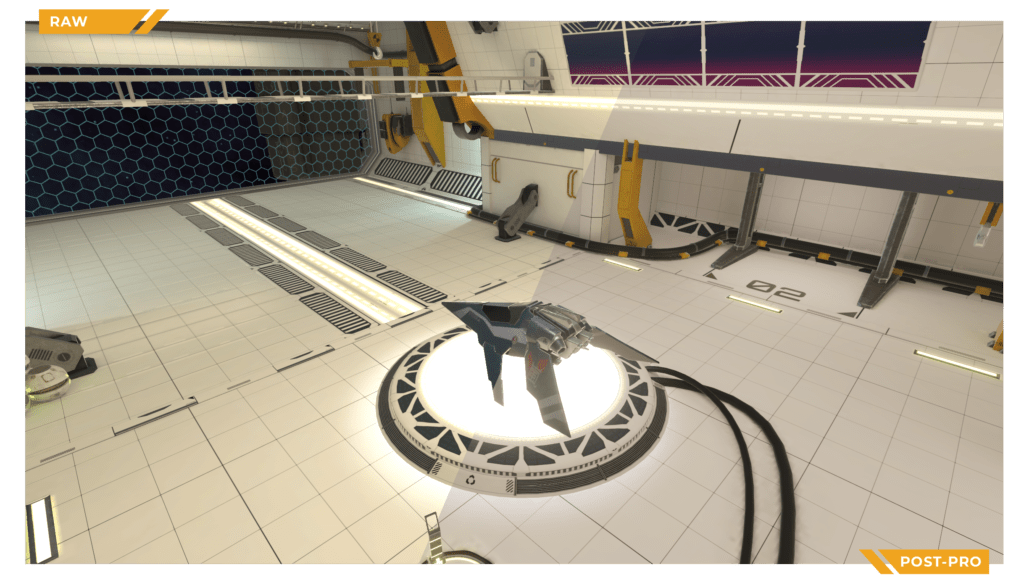
Despite a few technical setbacks and some teething issues with Blender the project came together nicely. The scene ultimately managed to tone down the grunge aesthetic enough to allow a cleaner, brighter racing aesthetic to come through.
More to come
Stay tuned for more updates on our Galactic Drift VR development journey. Get the latest on our mobile and VR development projects here and on our social channels. We’d love for you to give us a follow on on Twitter and Instagram.
For more Curioso games, see HERE